

Roundboy Wood Fired Outdoor Oven Review

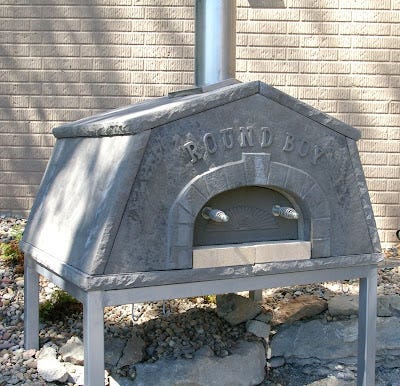
Roundboy Wood Fired Outdoor Oven Review
Preparedness Cooking with Pizza
I know many “survivalist” who plan on heading to the hills with a knife, a fire starter, and a jar a peanut butter at the first signs of trouble, however I am more of the common sense preparedness bug-in type. I do not own a “bunker” or do not have ten years of food stashed away. In…
